by admin | Apr 10, 2012 | Studwork & first fix
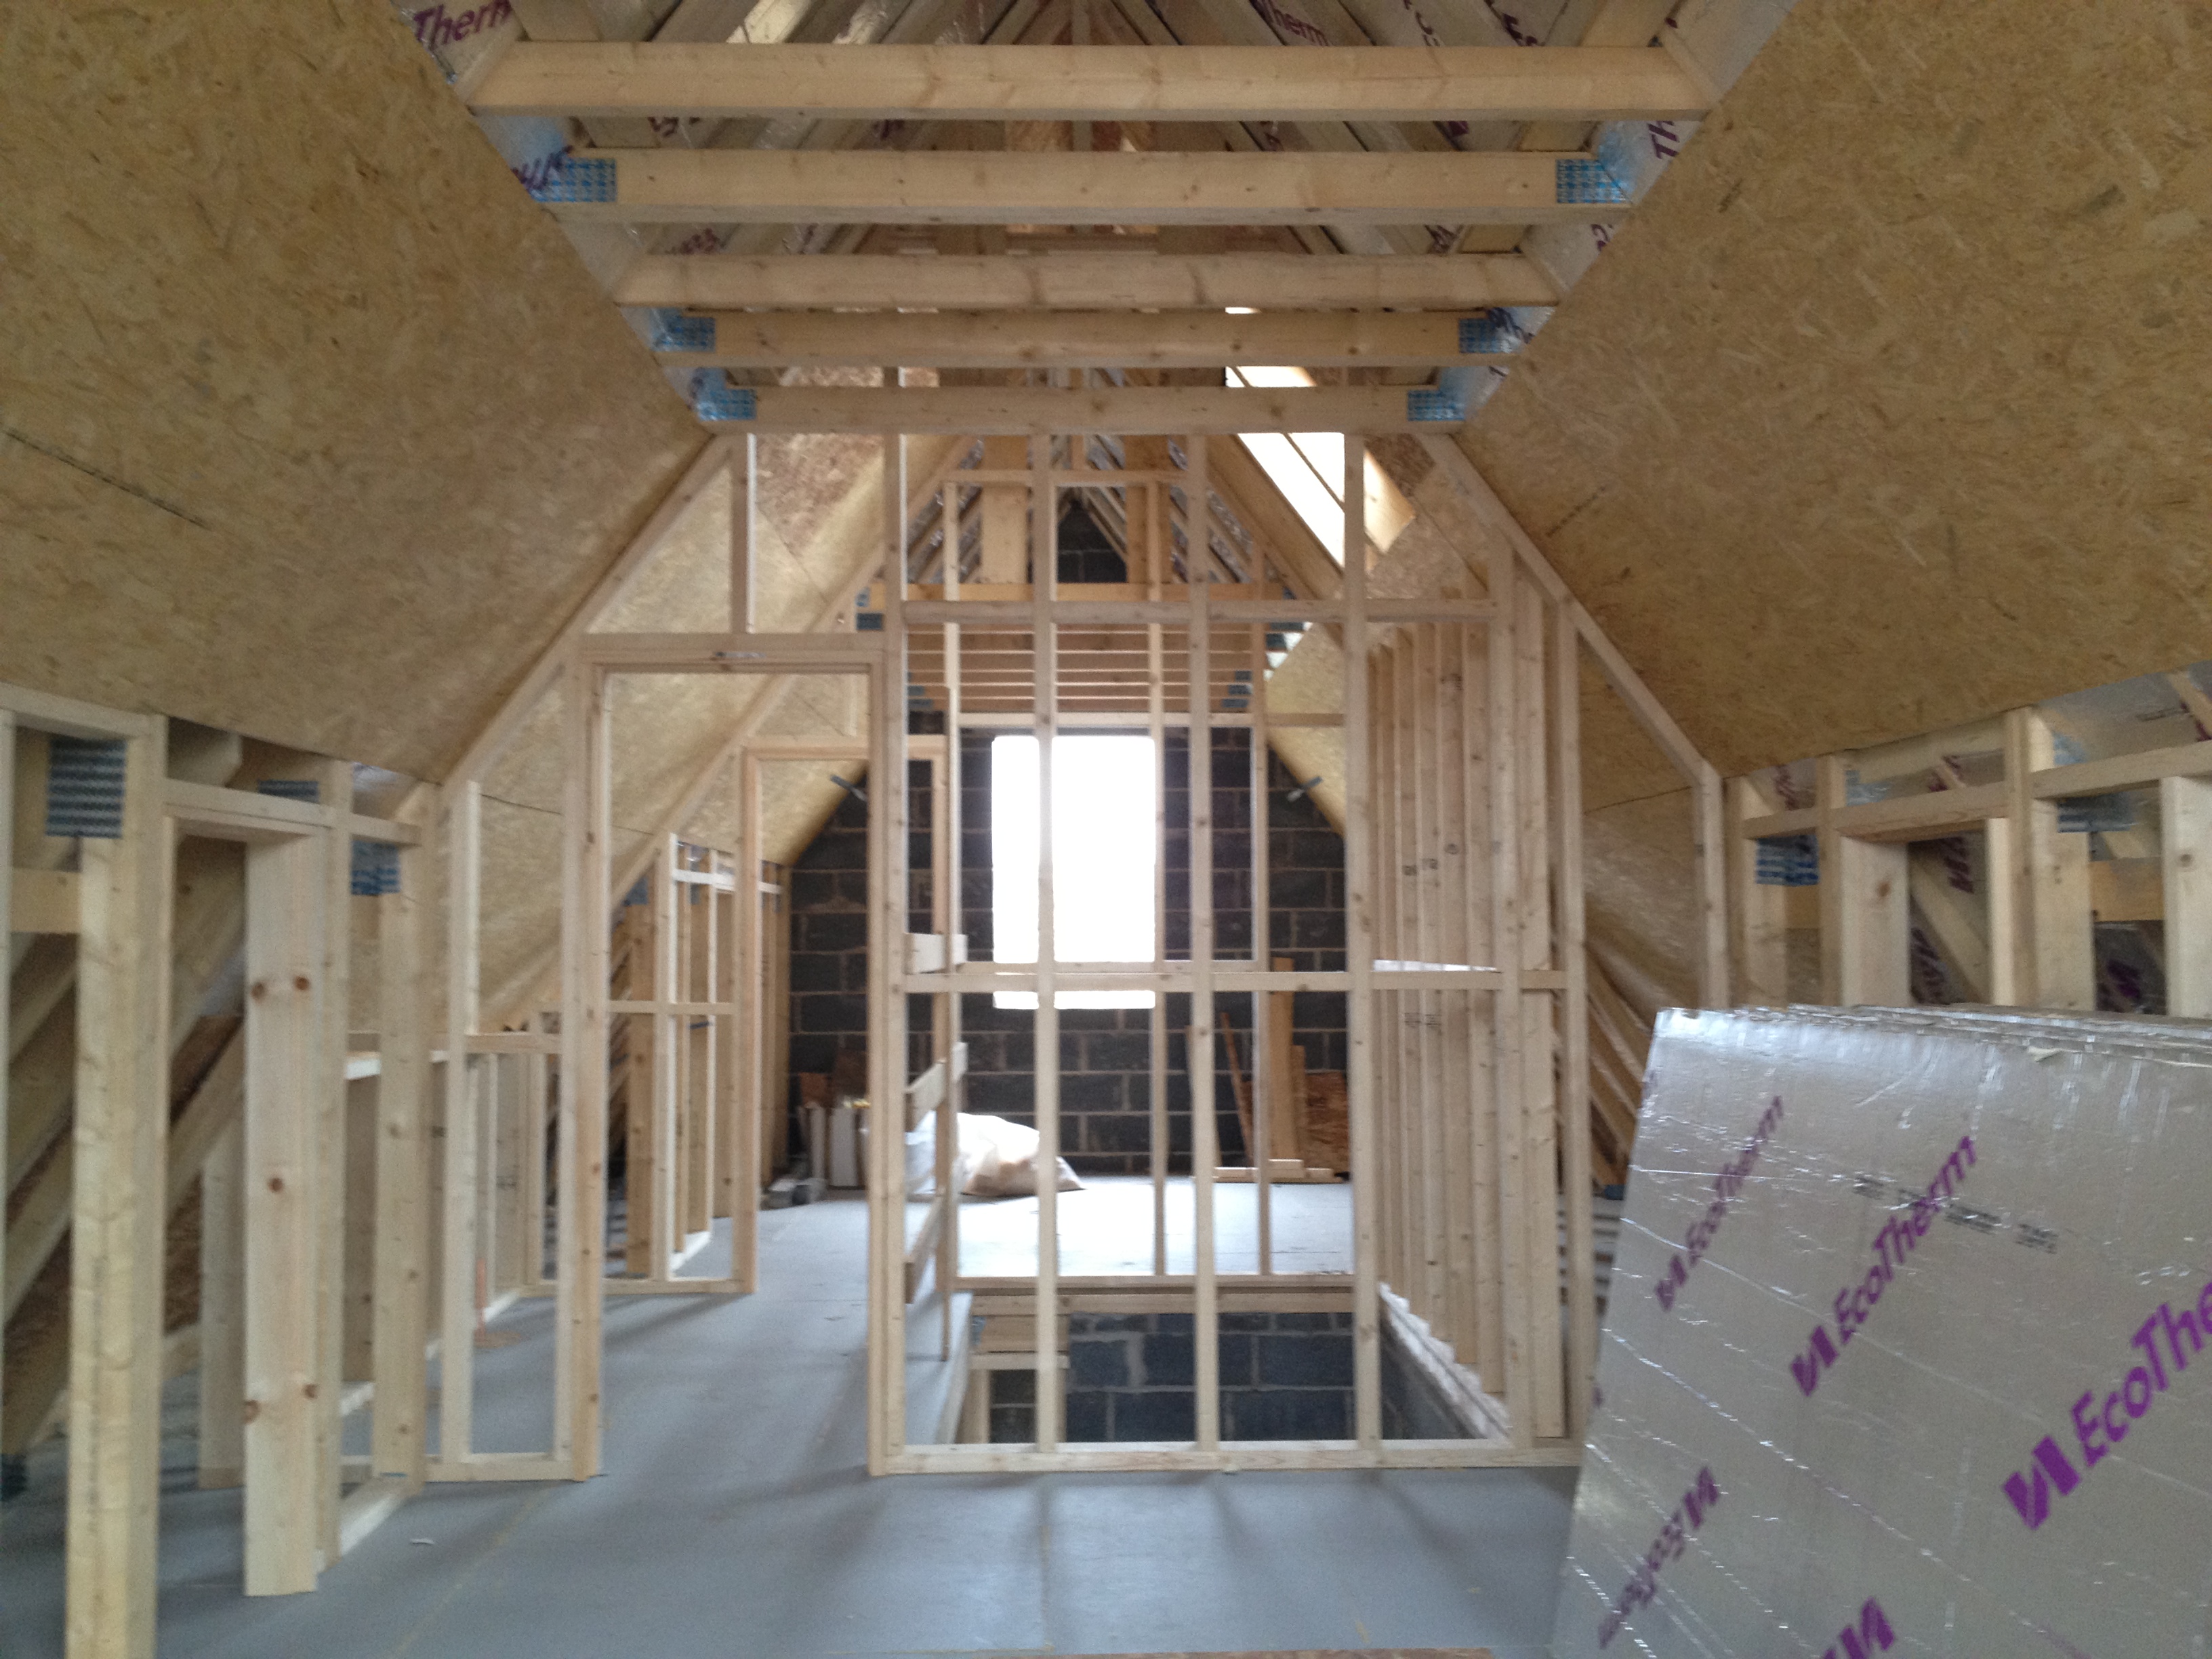
 Internally most of the walls are blockwork, but the timber
stud partitions also started going in after the roof went on.
The plumbers and electricians also started first fixing the
services, before walls and ceiling are plasterboarded.
 Building the linen cupboard in the bathroom showed us the size of the bathroom and adjacent bedroom. Concealed in the back of the cupd. is also a vertical service duct that allows pipes, cables and ventilation ducts to travel between the different floors. We are also having under floor heating to the first floor, so the pipes are clipped to the floor before being insulated from below and covered in screed.
 The engineered floor joists (also by Truss-Tech) make it much easier to run sevices through
the floor, and even the soil pipe runs up inside the building
hidden in our service riser.
It’s out of sight but accessible if necessary.
 Hot and cold water pipes are clipped to the blockwork, ready to
be plastered over. We’ve chosen to build most of the walls from
blockwork which will be plastered. Although drylining is quicker
and more popular these days, we wanted the feeling of solid walls
which are easier to fix into. Our Architect also convinced us that
the heavy thermal mass will be better for storing heat, than a wall
with a plasterboard lining with an air gap behind. Lightweight materials tend to
heat up and cool down quicker, where as heavier ones tend to vary less keeping the
interior of a building at a more constant temperature.
by admin | Apr 10, 2012 | Tiling theroof
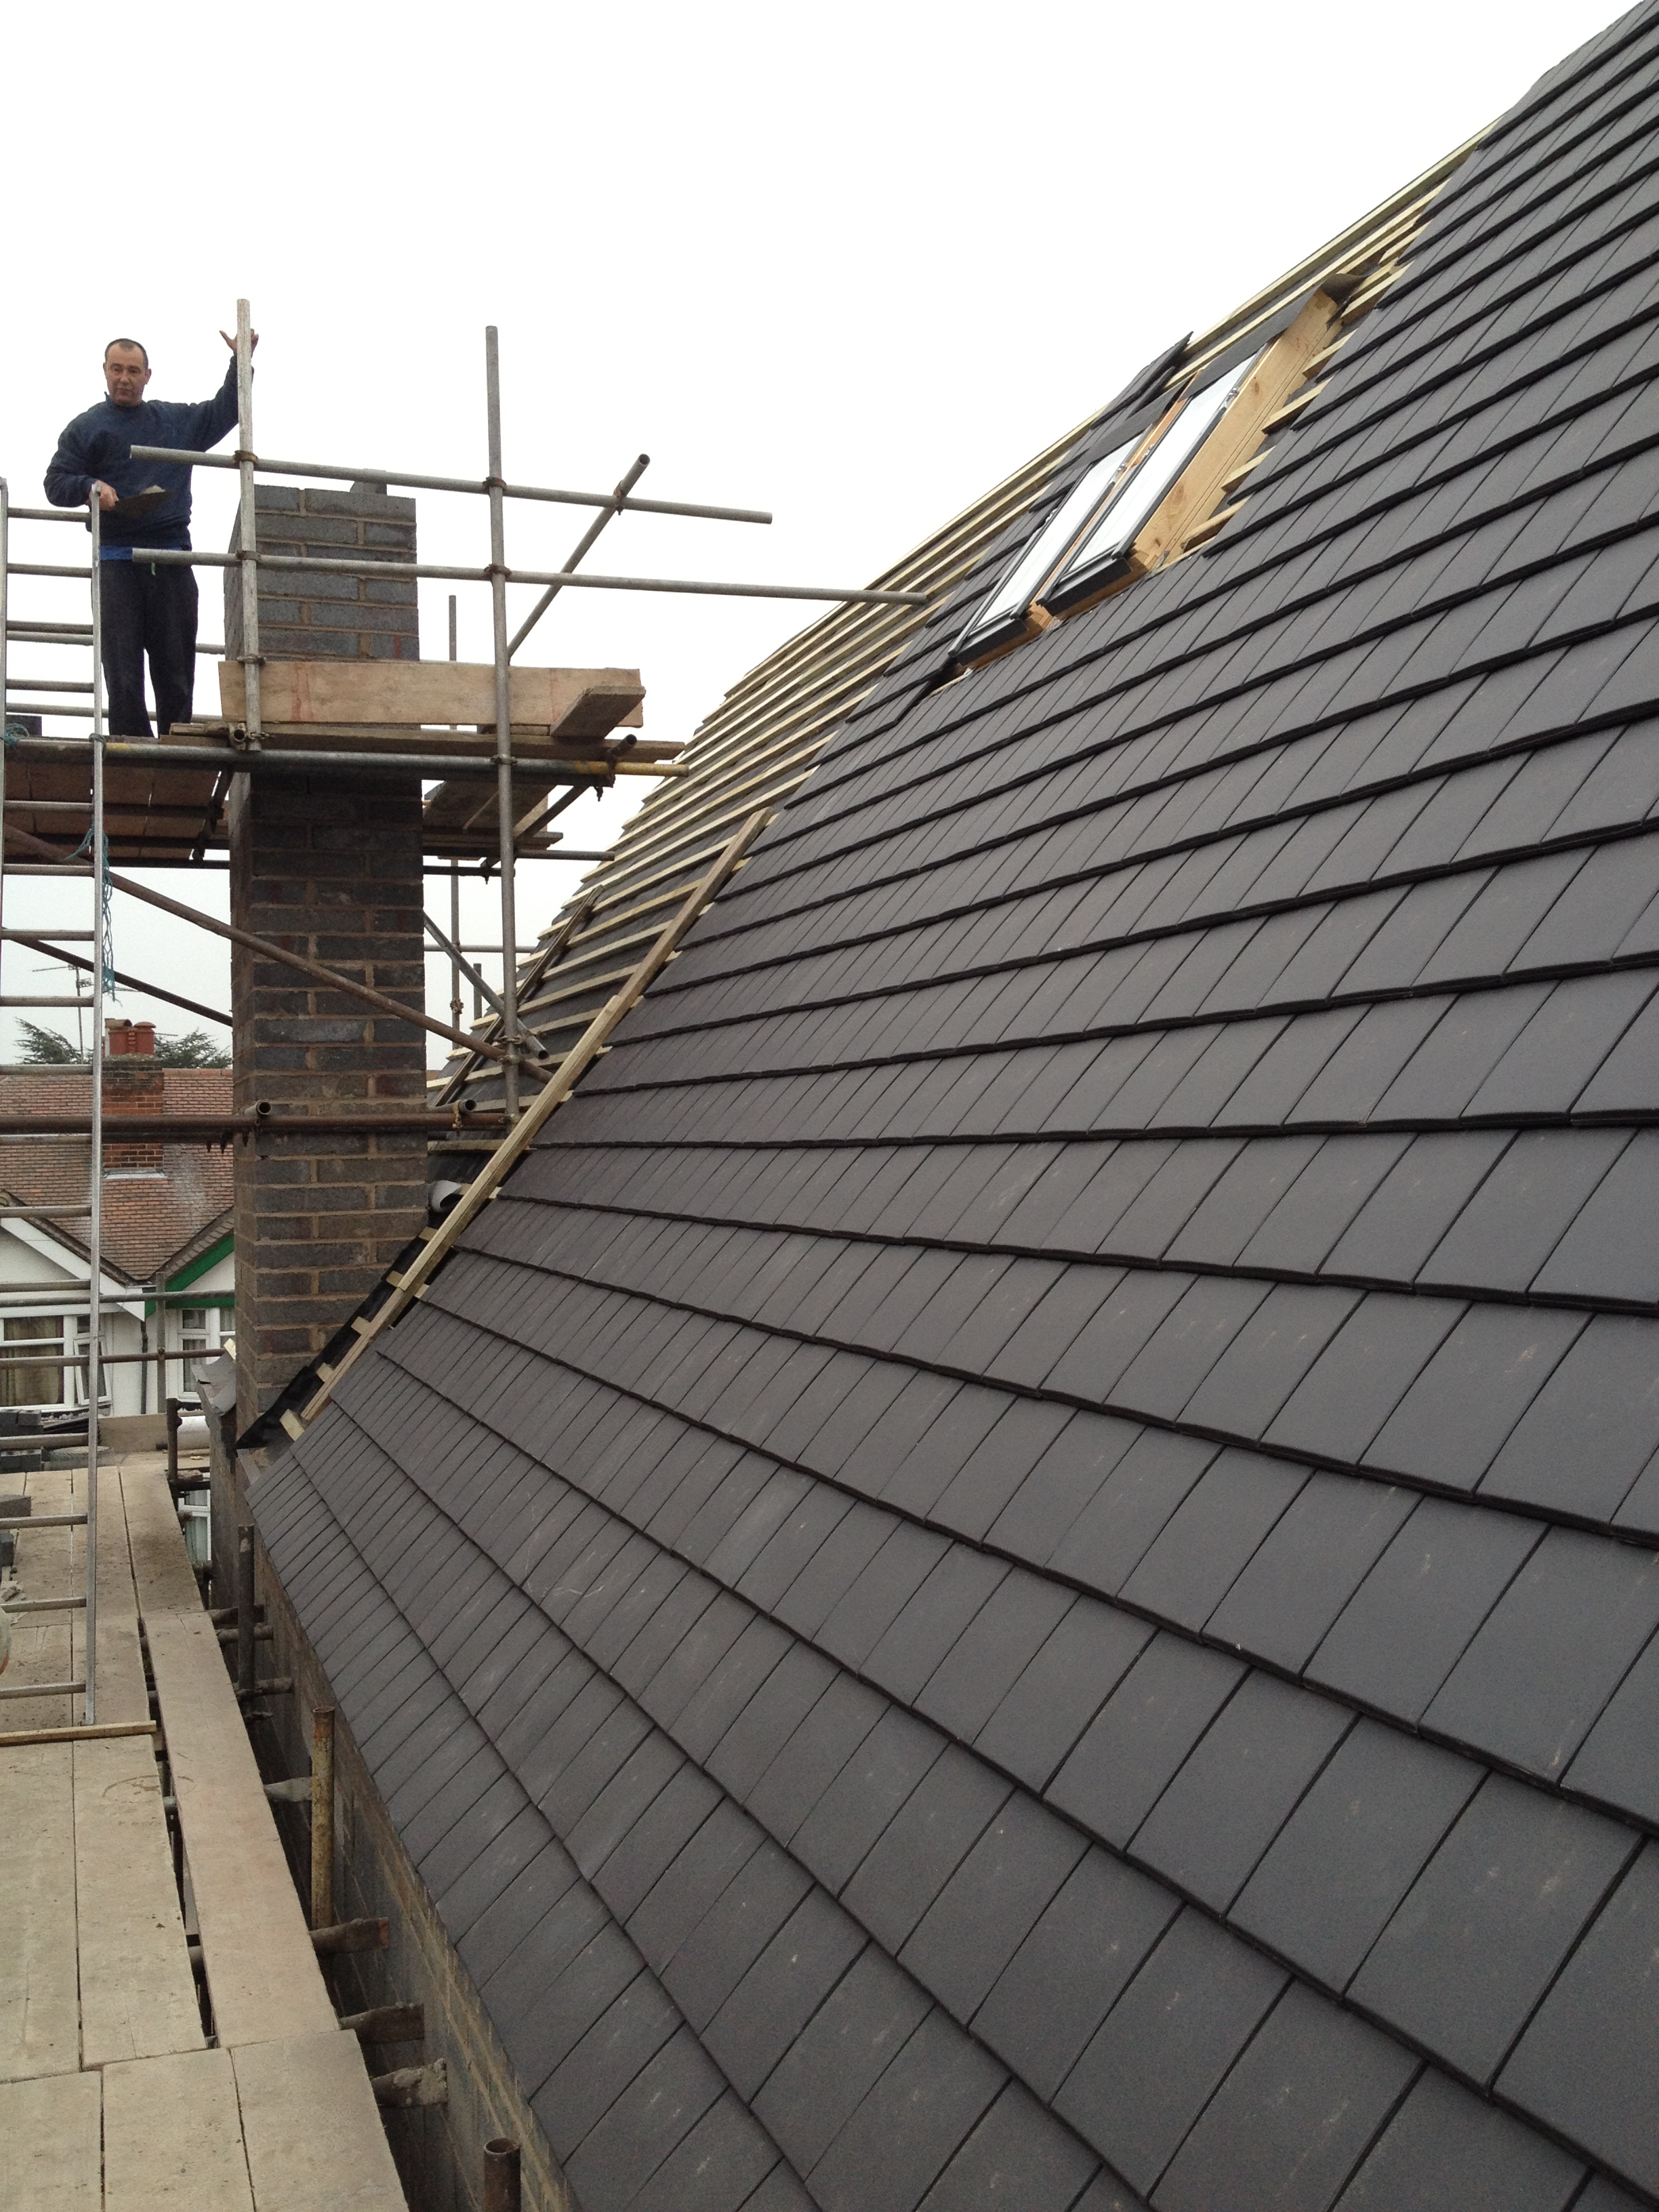
 Felting the roof and inserting rooflights was a big milestone
as it mean’t we were a step closer to being weather proof.
Next the chimney for our wood burning stove was built up
to ridgeheight, and a metal flue liner dropped down the
inside and the voids backfilled with vermiculite insulation.
Another exciting stage was fitting a reclaimed chimney pot ! Not only was this
physically the highest point of the building,  but it also used to have
flowers in by our front door so it was nice to re-use something from
our old house.
Our black clay roof tiles are a similar colour to the slate on both
neighbouring houses, but cheaper to buy than real slate.
 The interlocking design of the tiles also means that
they can be used at much lower pitches than slate, so we can
use the same tile on the roofs over our sunroom which is
only at 20 degrees.
As the tiling progressed outside, the roof  was being insulated and
trusses boarded to create a rigid structure. We’ve crammed as much
insulation into the roof as possible to make the most of the heat
from our ground source heat pump.
 On the lower roofs, the builder ran the felt across openings
which will have roof glazing fitted at a later date. This will
keep the worst of the weather out until the windows are
delivered, and allow work to continue internally.
by admin | Apr 10, 2012 | Roof Trusses
 With the blockwork up to wall plate height, the next big
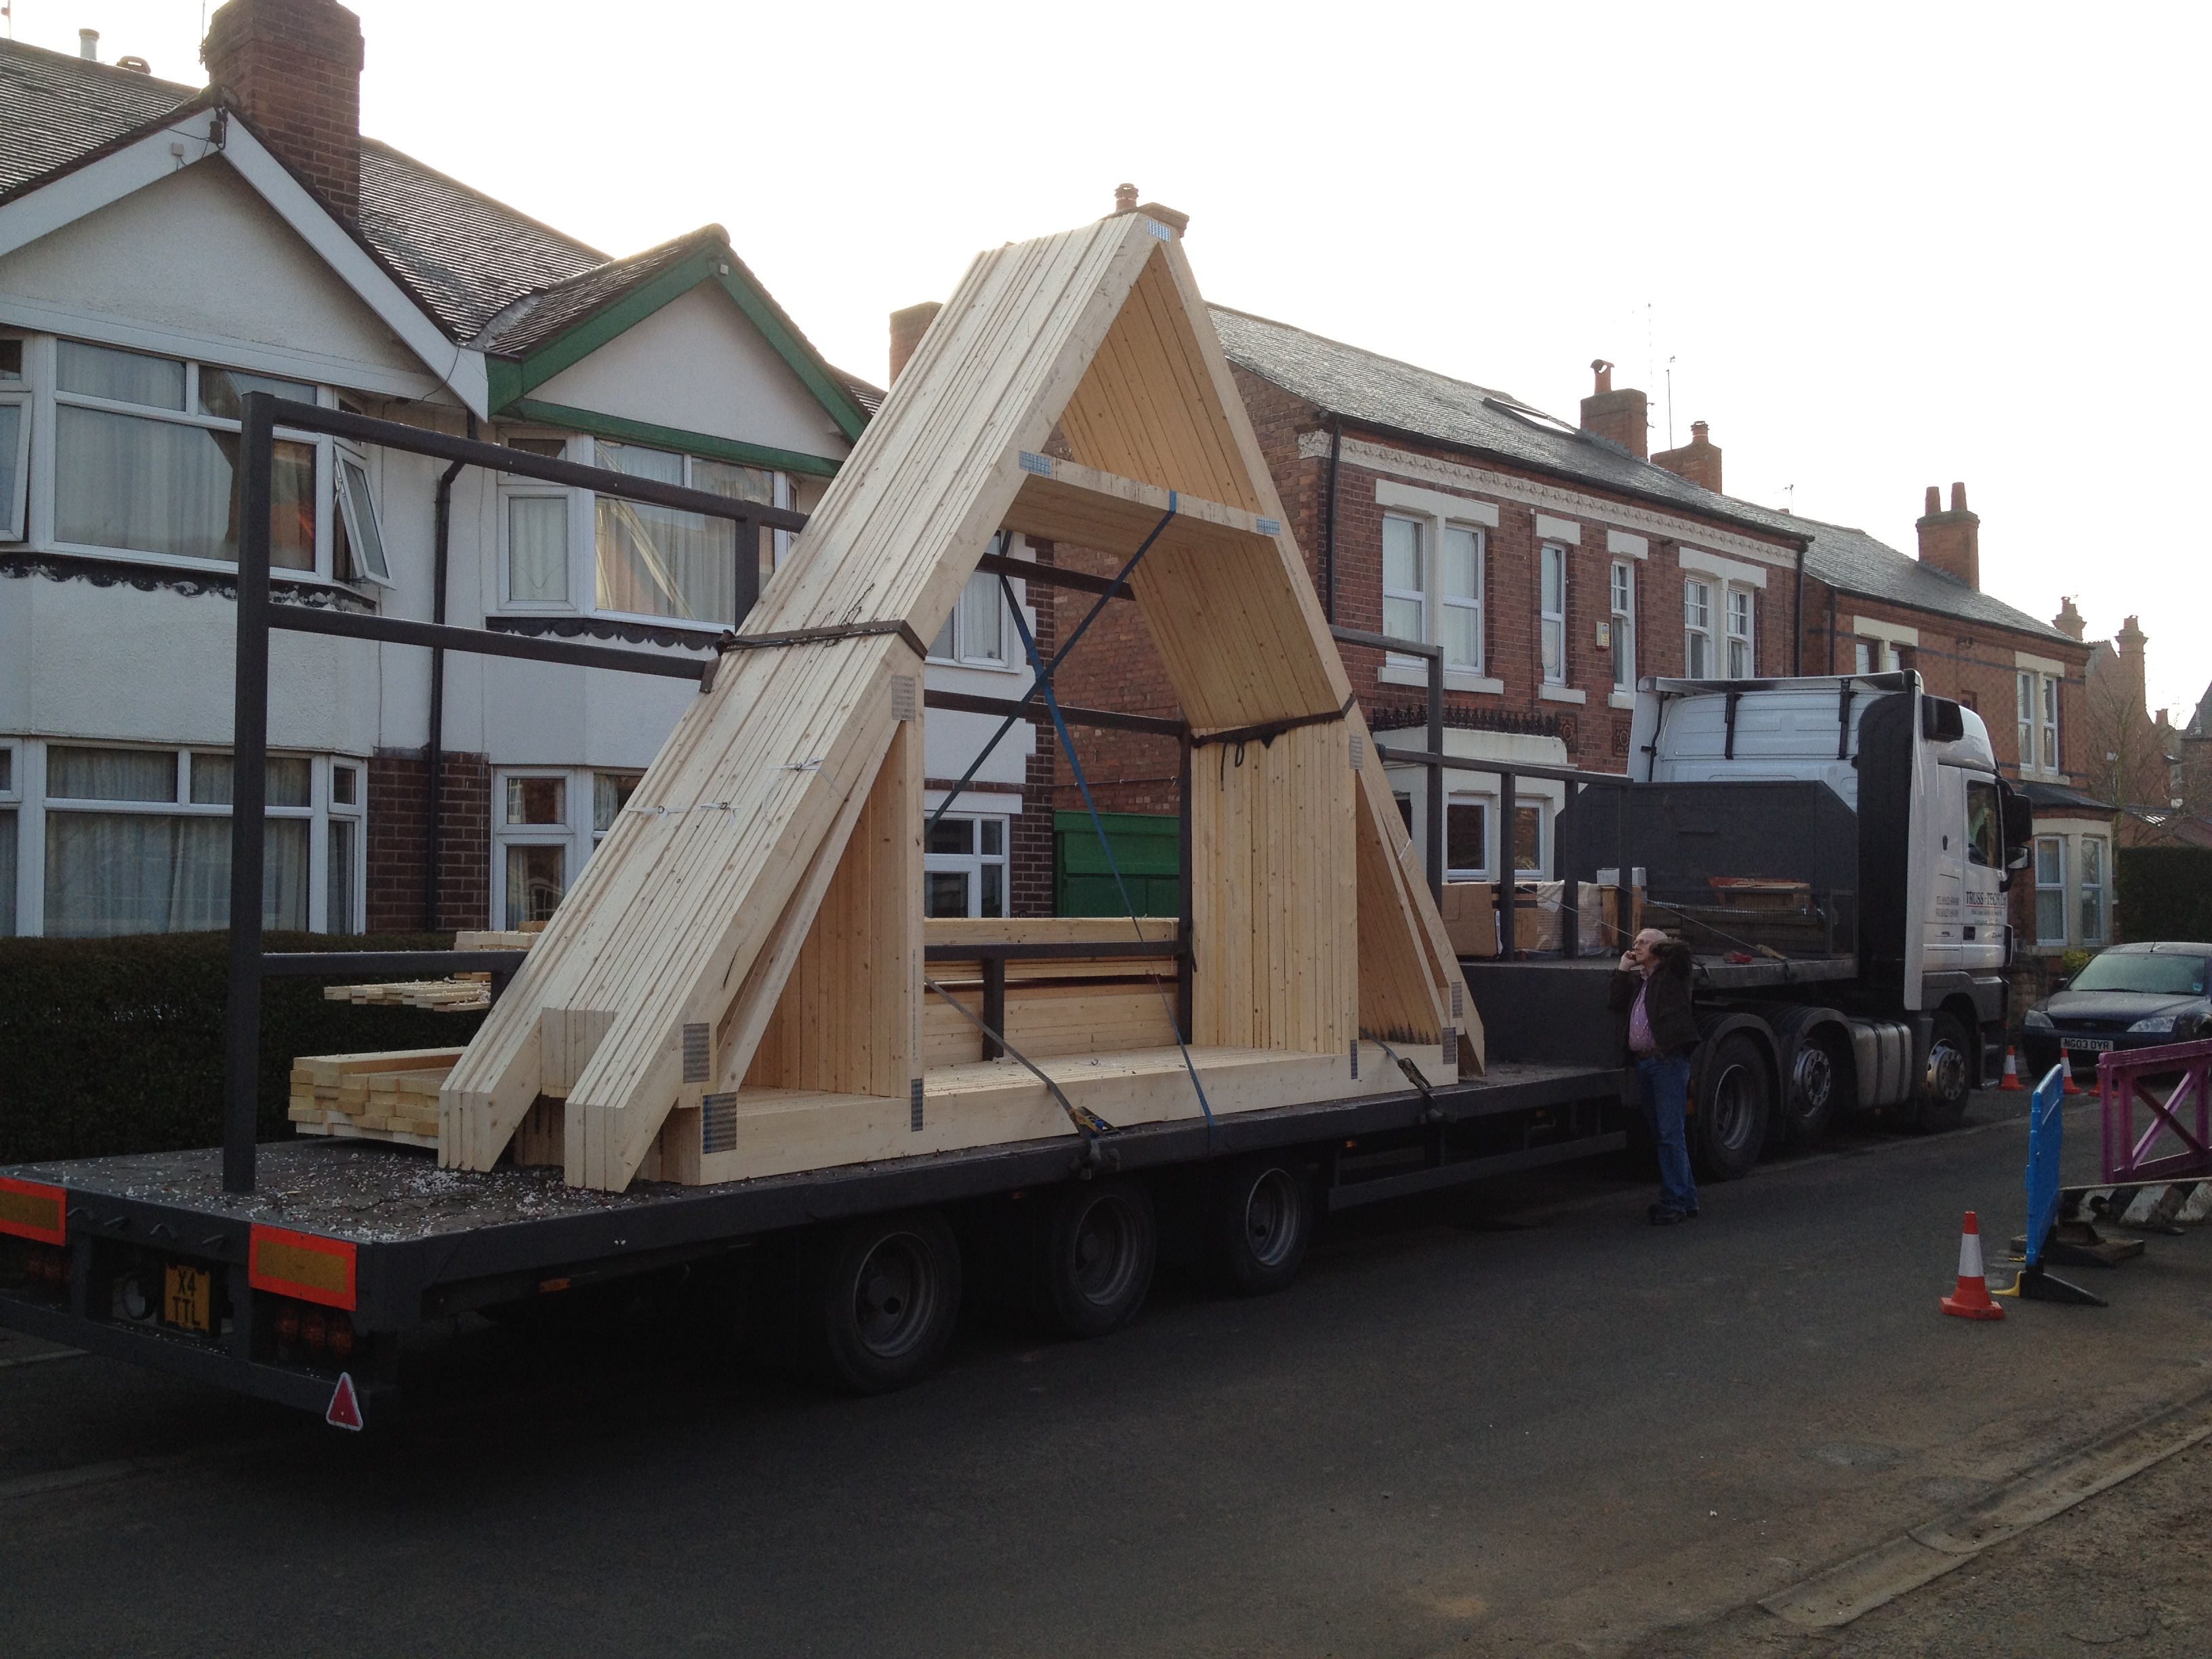
delivery was our roof trusses. To maximise the use of space
within the roof space, we had specified attic trusses which
provide clear space in the attic for two extra rooms.
Arriving pre-fabricated from the manufacturersTruss-Tech on a large lorry, the
trusses were lifted straight onto the building by crane.
The first truss was the most difficult to stabilise, but as others
were added they were all fixed to each other and became more
secure. Once the main trusses were in position, we could really
see the overall design taking shape. The steep roof pitch of 52
degrees not only matches the neighbouring properties but also
provides lots of headroom inside.
 With all the trusses in position the front
and rear blockwork gables were built up,
and areas of traditional rafters constructed
with openings for the rooflights.

 Building the linen cupboard in the bathroom showed us the size of the bathroom and adjacent bedroom. Concealed in the back of the cupd. is also a vertical service duct that allows pipes, cables and ventilation ducts to travel between the different floors. We are also having under floor heating to the first floor, so the pipes are clipped to the floor before being insulated from below and covered in screed.
 The engineered floor joists (also by Truss-Tech) make it much easier to run sevices through
 Hot and cold water pipes are clipped to the blockwork, ready to


